Today we are going to set up a React Native test app from scratch using our dev environment we setup in the last post. Our goal is to configure React Native to receive messages from Firebase Cloud Messaging.
Open up a WSL shell and start in there.
First make sure you are in your development directory, check your path with pwd and then cd into your appropriate development directory. Something like:
/home/Username/developBe sure that you are in a /home workspace and not in the /mnt/c/ users space as we can run into file system complexity as discussed in the last article.Now that we are in our development directory we can setup a new React Native app like we did at the end of the last article here.
Run the command below inside of your VS Studio
react-native init FCMAndroidTestWhich will kickoff a project creation
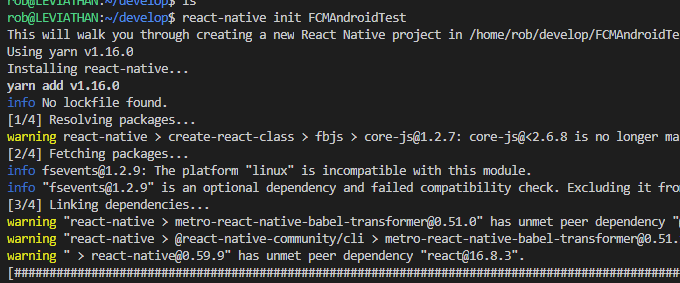
When completed you will get the following:
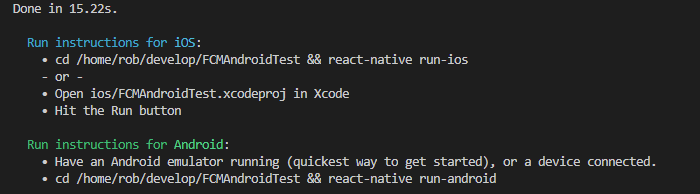
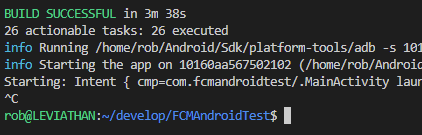
Make sure your adb server is running in Powershell and shows a device then switch into your new directory and run the app with react-native run-android. Your new test app should now be running, let’s shut down the react-native environment and begin integrating the other components now.
Integrate Firebase into our App
First thing we are going to do is add Firebase to our React Native project. Let’s go ahead and open the folder that we just created in our instance of VSCode. Just make sure you are in the root directory of the FCM project we just created in your WSL shell and type code . which should launch VSCode with the files opened.
Now from that same WSL shell run the studio command to open up an Android Studio we are going to check our pre-requisites for Firebase. (Make sure your xterm server is running).
Once it launches, close out whatever application opened with Android Studio and open the android stub folder of our FCMAndroidTest project. This should import the settings of the React Native project instead of Android Studio creating its own.
Open the build.gradle file for Project: FCMAndroidTest and check that the minimum SDK version is 16 or greater, and that we are compiling to the latest SDK version. Then open the gradle-wrapper.properties file and make certain our Gradle version is 4.1 or greater. These requirements come from the Add Firebase to your Android project page and may change over time. Refer to the link for the latest requirements.
They also ask that we use an Emulator image with google play active. Since we are developing to an actual device, this requirement is met. Now we are going to go ahead and add Firebase to our React Native test application.
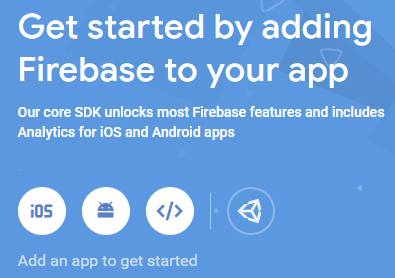
Next open up your Firebase Console and add a new project or use one that you already have created. When we create this project we will have an opportunity to edit the Project ID which is unique and if a project is deleted this ID can never be used again.
Now we need to add our android app to Firebase. We need to click on the Android icon in the Firebase console to launch the setup workflow.
It’s going to ask you for your ApplicationID and an App nickname. You can give it whatever name you like, we went with FCMAndroidTestApp. The ApplicationID is specific your app that you already created. Open the app level version of your build.gradle file and find the line under your default config that defines the applicationID
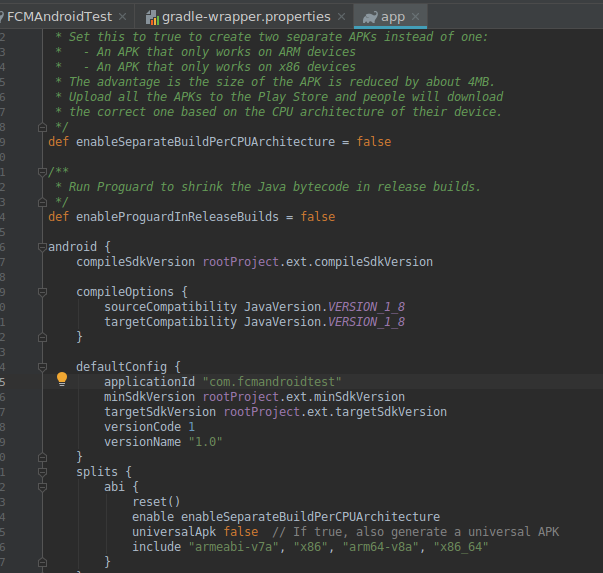
In this case set your applicationID in Firebase to com.fcmandroidtest
Now the app has been registered with our project, we can download the google-services.json config file that has been created for our app. Remember we are still doing most of this work through Android Studio, switch to project view in Android Studio to see your project root directory and move the google-services.json file into your app root directory. Once the file has been copied in you can right click the app directory and resync it to see the file in the project explorer.
Now it’s time to add the Firebase SDK, we need to modify the build.gradle files to use the Google services plugin for Gradle.
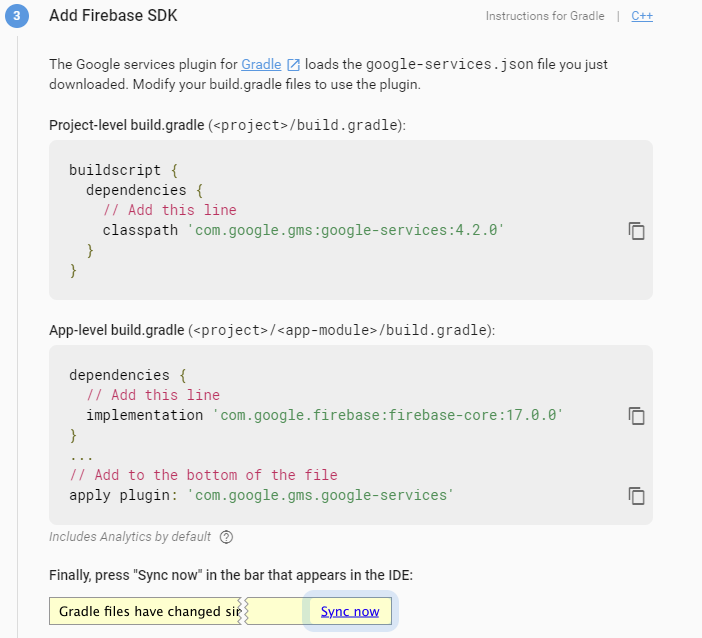
Once those values have been added to the correct files you can go back to the WSL shell you have open and re-run your React Native app.
With the release of AndroidX, React Native is having a problem with translating native Java code to AndroidX. In order to allow React Native to be translated to AndroidX compatible code we need to add two lines to our gradle.properties file in the root of our android folder.
android.useAndroidX=true
android.enableJetifier=true
We skipped adding the optional components listed in the integration documentation as well as the AndroidManifest.xml service (we will add it in the next section). Your application may require them so do double check this requirement for your use case.
After that, our rebuild should work properly. If not you may need to install Jetify to scripts to allow for the code to compile. We will do this later in the next section when it is required. Congrats, we have now added Firebase to our app and linked it to our Firebase project.
Setup FCM in our Android App
Now we are going to setup FCM in our Android App. First we just need to double check that our test device does have the Google Play Store installed and updated and check the version (ours was 15.0.90), as well as the device running Android 4.1 or higher. These instructions are a mixture from several documentation pages:
Firebase documentation for adding FCM to an Android app.
React Native Firebase Android Installation
React Native Firebase Messaging Android Installation
React native integration walk-through.
First we are going to install the React Native Firebase plugin which will allow us to quickly integrate the the Firebase SDK with our React Native application. Why re-invent the wheel right? At the time of writing version 6 of this library doesn’t support FCM fully so we are going to integrate the latest 5.x.x version. Install with the following command:
npm install --save react-native-firebase
This will kick off the installation process.
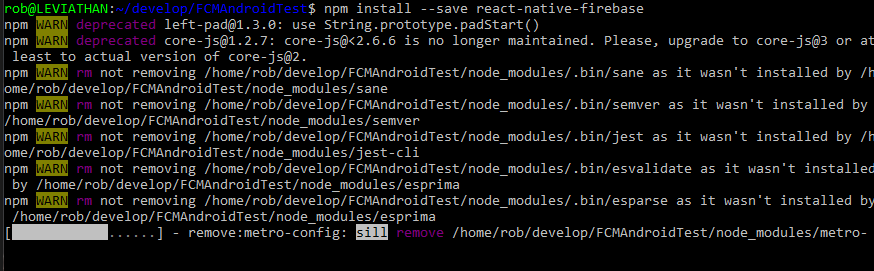
When complete you will get output similar to this:

We can now run the command npm list –depth=0 to double check the version installed wasn’t v6 (not supporting messaging yet). We can see in the below screenshot that 5.5.4 was installed correctly.
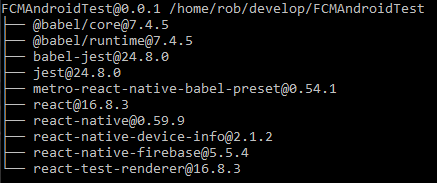
Now we can run react-native link to integrate our packages into the project.
At this point we are going to make multiple changes to multiple files. I am going to combine all the changes into edits for each specific file. If you were walking through the individual installation instructions you would revisit these files multiple times. This way we will integrate multiple components at once. Open the following files:
- ../android/app/src/main/java/com/fcmandroidtest/MainApplication.java
- ../android/app/src/main/AndroidManifest.xml
- ../android/app/build.gradle
- ../android/build.gradle
- ../android/settings.gradle
- ../android/gradle.properties
- ../android/gradle/wrapper/gradle-wrapper.properties
In MainApplication.java we are going to integrate the following blocks of code:
import io.invertase.firebase.RNFirebasePackage; //<-- Add this line
import io.invertase.firebase.messaging.RNFirebaseMessagingPackage; //<-- Add this line
import io.invertase.firebase.notifications.RNFirebaseNotificationsPackage; //<-- Add this line

public class MainApplication extends Application implements ReactApplication {

  private final ReactNativeHost mReactNativeHost = new ReactNativeHost(this) {

    @Override
    protected List<ReactPackage> getPackages() {
      return Arrays.<ReactPackage>asList(
          new MainReactPackage(),
          new RNDeviceInfo(),
          new RNFirebasePackage(), //<-- Add this line
          new RNFirebaseMessagingPackage(), //<-- Add this line
          new RNFirebaseNotificationsPackage() //<-- Add this line
      );
    }
  };
  //..
}
In AndroidManifest.xml we are going to integrate the following block of code:
<application
  ...
  ...
  android:appComponentFactory="androidx"
  tools:replace="android:appComponentFactory">
  <!-- Manage AndroidX changes with these two lines added at the end of the application tag-->

  <!-- [START firebase_service] -->
  <service android:name="io.invertase.firebase.messaging.RNFirebaseMessagingService">
    <intent-filter>
      <action android:name="com.google.firebase.MESSAGING_EVENT" />
    </intent-filter>
  </service>
  <!-- [END firebase_service] -->

</application>
We also need to add a line to the manifest tag at the top level of the AndroidManifest.xml file. It should look like the following:
<manifest xmlns:android="http://schemas.android.com/apk/res/android"
  xmlns:tools="http://schemas.android.com/tools"
  package="com.fcmandroidtest">
In your app level build.gradle make sure the following dependencides have been added:
dependencies {
    implementation project(':react-native-device-info') //<-- Add this line
    implementation project(':react-native-firebase') //<-- Add this line

    implementation fileTree(dir: "libs", include: ["*.jar"])
    implementation "com.android.support:appcompat-v7:${rootProject.ext.supportLibVersion}"
    implementation "com.facebook.react:react-native:+"  // From node_modules
    implementation "com.google.android.gms:play-services-base:15.0.90" //<-- Add this line - changed this from 16.1.0 to match dev device level.
    implementation 'com.google.firebase:firebase-core:17.0.0' //<-- Add this line if not already there
    implementation 'com.google.firebase:firebase-messaging:19.0.1' //<-- Add this line if not already there
}
In your android settings.gradle file include the following projects so that they compile and are included:
rootProject.name = 'FCMAndroidTest'

include ':react-native-device-info'
project(':react-native-device-info').projectDir = new File(rootProject.projectDir, '../node_modules/react-native-device-info/android')
include ':react-native-firebase'
project(':react-native-firebase').projectDir = new File(rootProject.projectDir, '../node_modules/react-native-firebase/android')

include ':app'
In your android build.gradle file include the following dependencies or make certain they are already there at the version noted in the code or higher.
dependencies {
        classpath("com.android.tools.build:gradle:3.4.1")
        classpath 'com.google.gms:google-services:4.2.0'
In your gradle.properties file make certain the following lines have been added:
android.useAndroidX=true
android.enableJetifier=true
At this point save all the files and attempt a compile. If you get a bunch of errors from the react-native-firebase class then you will need to setup the custom Jetifier scripts in the next section.
Fixing what Google broke with AndroidX
With Google’s recent change to their android libraries a significant amount of included libraries have changed path and this impacts a significant amount of React Native libraries. The fix is to use googles Jetifier along with some custom scripts. This portion of this article draws heavily from this article from Medium.
In a nutshell, this change to AndroidX deprecated a lot of libraries and their naming schema changed from import android.support.annotation.*; to import androidx.annotation.*; because the classes have all been moved around. Here is a map of all the changes that were made:
https://developer.android.com/jetpack/androidx/migrate#artifact_mappings
Google expected this would be a problem and released a tool called jetifier.
This tool works great, except for React Native because not all of our dependencies are native. It won’t resolve indirect dependencies nor will it correct code written by us. Several of the changes to support AndroidX were already integrated into the previous section but we need to check that your gradle-wrapper.properties is showing a distribution later than 5.1.1 for gradle. Ours looked like this:

Now we are going to install the latest jetifier tool to support this. You will need to run the following commands:
npm install -g npx
yarn add jetifier
Now, run jetifier to fix the code as per the npm jetifier documentation
npx jetify
That should have fixed any of the inconsistencies in the code and allowed you to run your React Native app. Finally, we can send our first test message! Open up your Firebase console and select Cloud Messaging in the left menu. Then you can click on Send your first message.
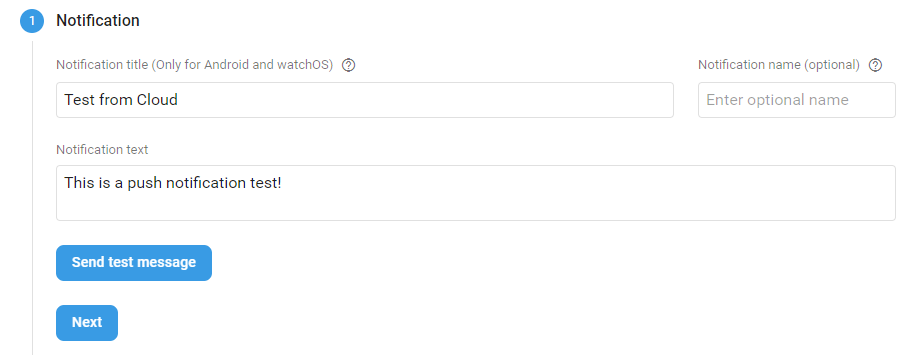
Setup a new Notification by walking through the Compose notification interface.
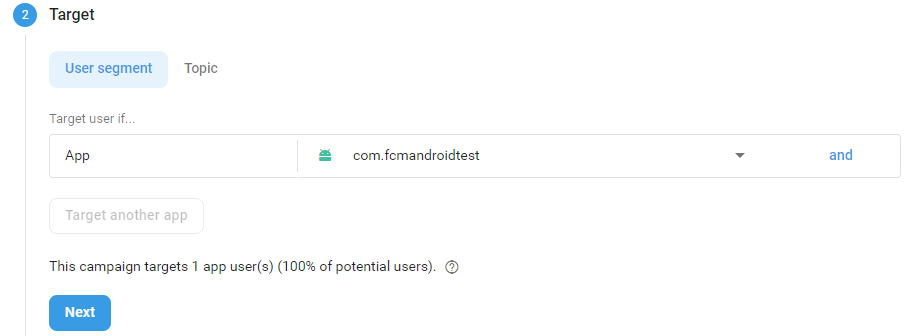
Select the target, since we haven’t done anything with device tokens yet we simply send a notification to the App as the target
Schedule the notification for Now, and skip through the optional parts and hit review.
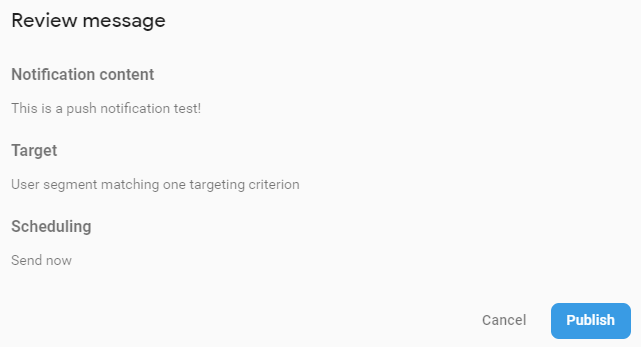
You will be met with the Review message dialog, hit Publish and our message should be send to our app.
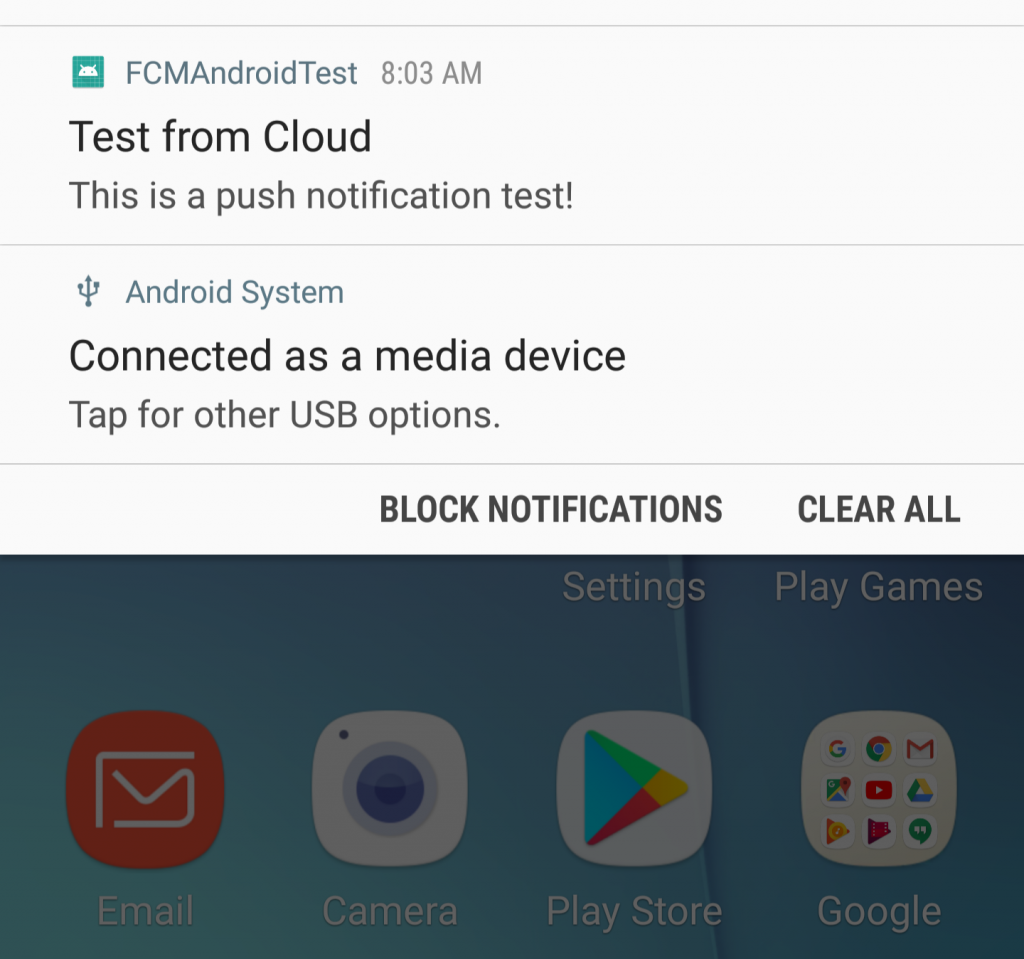
Congratulations! We have successfully sent our first test notification. Right now we can’t really do anything with them other than display them on the screen. In our next article we will setup some handlers to do things with these notifications.